
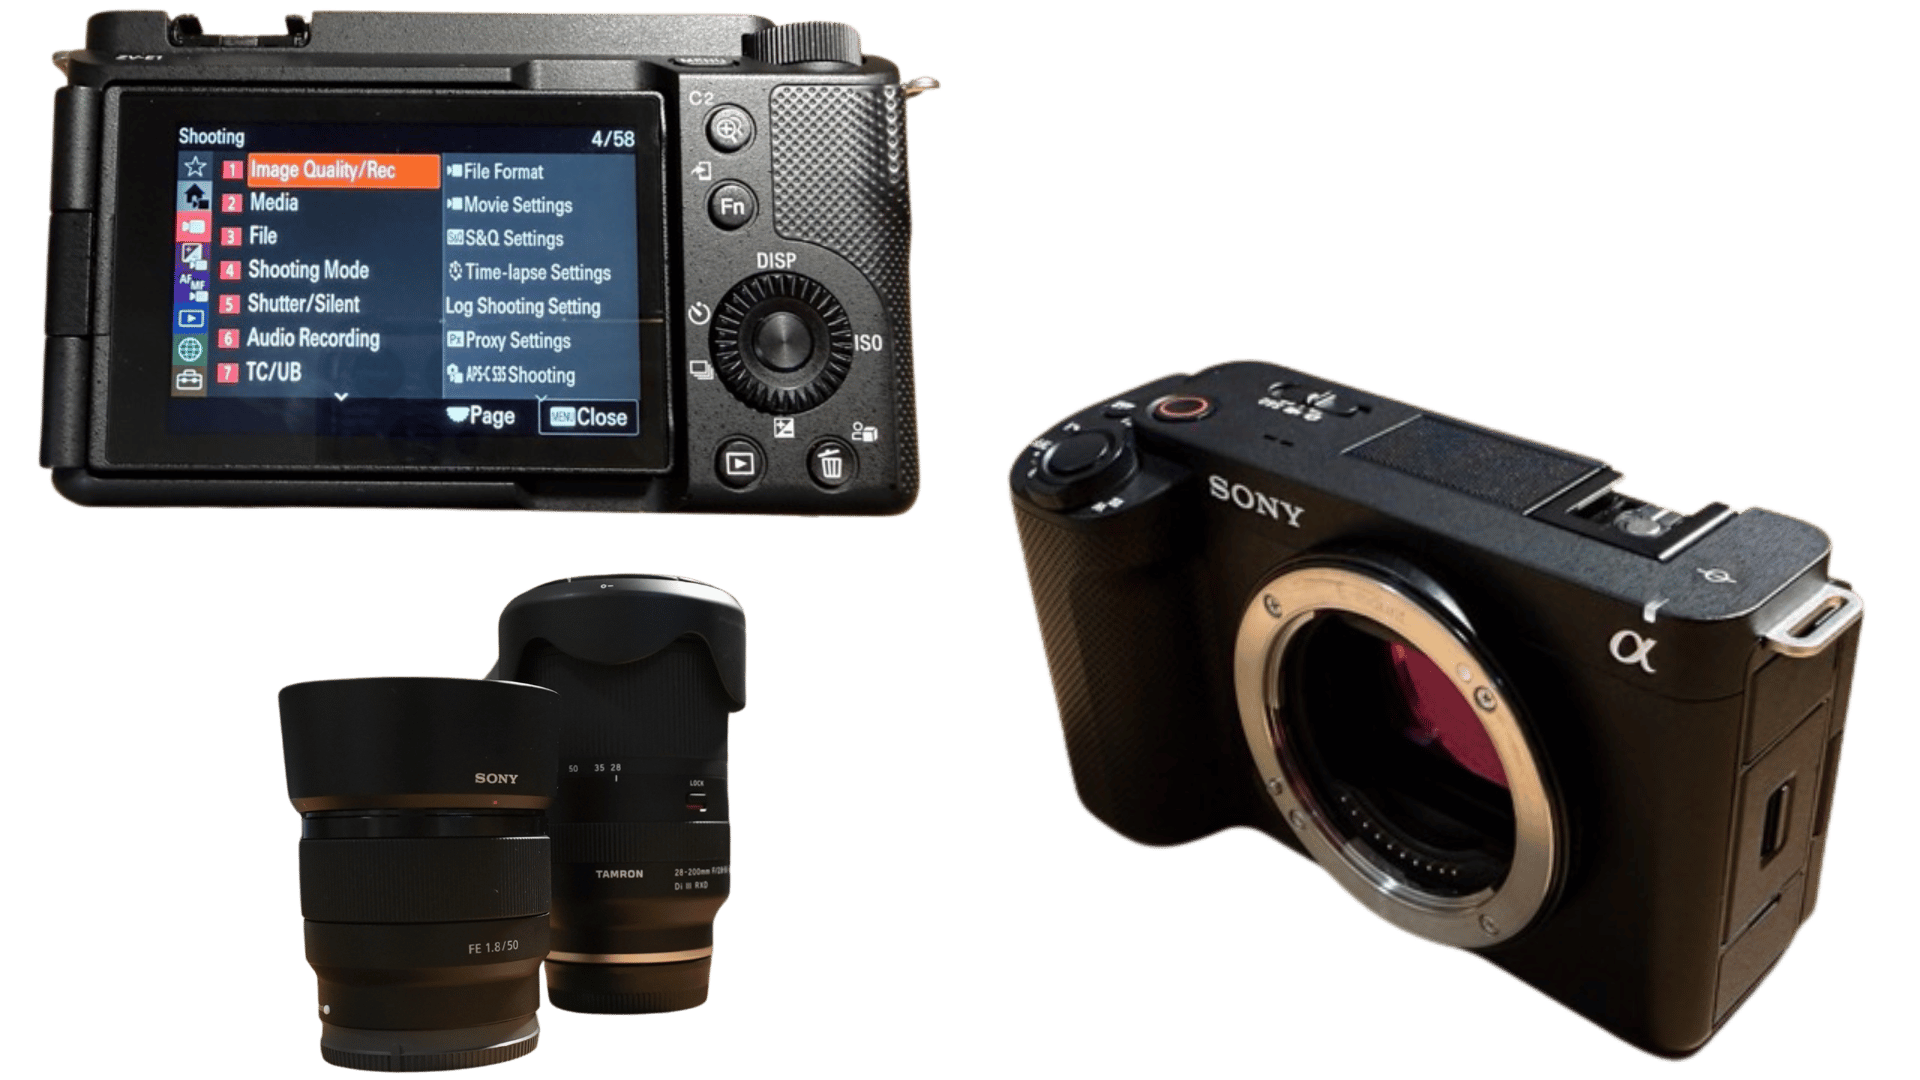
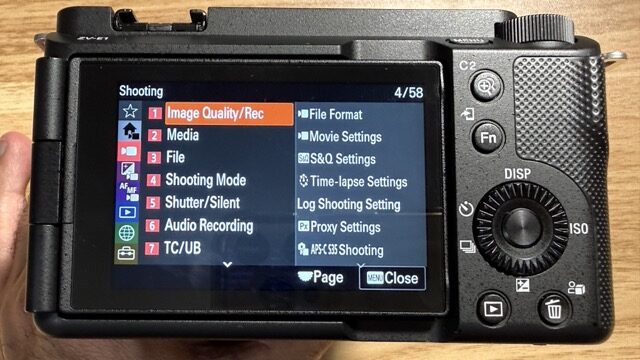
When I started with the ZV-E1 I fought exposure and manual mode. My early footage was either too bright or too dark, and I struggled with shutter and manual settings. Once I learned that the camera is built for S-Cinetone, sensible defaults, less grading then things got faster and more consistent. Here’s what I use now for indoor and outdoor vlogging, and the one overheating lesson that changed how I shoot in heat. For the camera itself, see our Sony ZV-E1 review.
Quick verdict
- Picture profile: S-Cinetone for almost everything. The camera is built for less editing; use it.
- Indoor (desk): S-Cinetone, two lights, lowest ISO I can get away with, faster shutter to avoid lag, 4K to the Mac over USB-C (camera as source). Camera stays on USB so power isn’t an issue.
- Stabilisation: Active or Dynamic for handheld; Standard only when on tripod or gimbal. When B-roll failed me (shake and focus), I switched to Dynamic and full-wide focus.
- Do NOT try to master manual mode before you’re getting good results with S-Cinetone and semi-auto. You’ll waste time and ruin footage.
Picture profile: S-Cinetone vs S-Log3
S-Cinetone – My default. Baked-in look, minimal grading. I drop footage in the timeline and do a quick pass. For YouTube and fast turnaround it’s what the camera is designed for. Do NOT ignore it while chasing “cinematic” LOG; you’ll burn hours in the edit and often get worse results until you know what you’re doing.
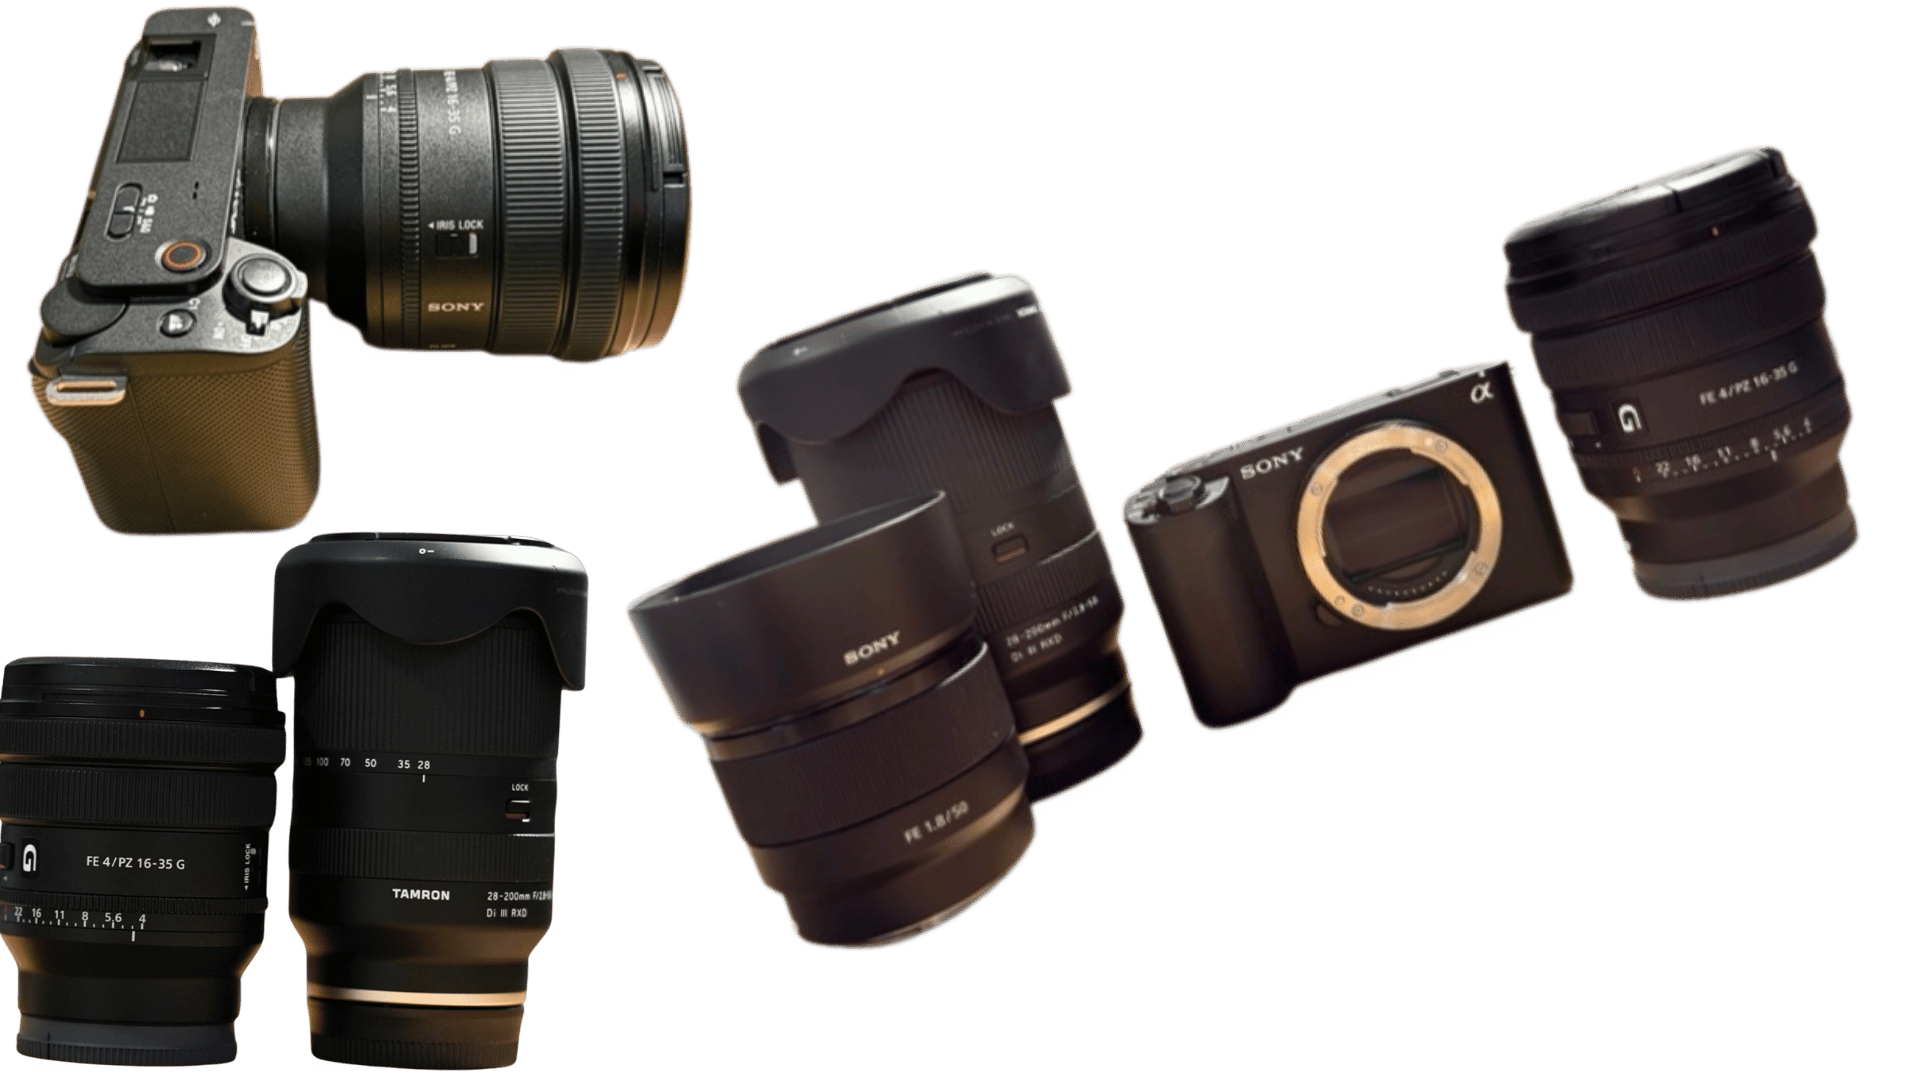
S-Log3 – When I want to grade and have the time. Exposure is critical; underexposure kills it. I use it for dedicated B-roll or short pieces, not for everyday vlogs. In hot weather, LOG pushes the camera harder and heats it up—see overheating below. For lens choice with these profiles, see best lenses for ZV-E1.
Frame rate and shutter
- 25p or 30p: My usual. Shutter at 1/50s (25p) or 1/60s (30p) for natural motion blur.
- 60p / 50p: Full-frame readout, no crop. Use for slow-mo when you want full width.
- 120p / 100p: Slight ~1.1x crop; requires free firmware upgrade via Sony Creators’ Cloud. Use S&Q (Slow & Quick) mode for 4K 120p. Long 120p sessions can add heat (no mechanical fan).
- Dynamic Active Stabilisation: Adds a 1.3x crop; can be used with 60p but is not available at 120p.
- 1080p: The camera can record up to 240 fps in Full HD with a small crop (~1.1x).
The ZV-E1 uses a 4.2K region of the 12.1MP sensor for 4K 60p, giving full-width readout without pixel binning. It has no mechanical fan, so long 120p use can add heat; the 12MP sensor helps it run relatively efficiently.
- Indoors with two lights I keep shutter fast enough to avoid lag and use the lowest ISO that still looks clean. Outdoors I use ND filters so I can keep 1/50s or 1/60s without overexposing. ND is non-negotiable for me when I go outside or to events—see accessories.
Stabilisation
- Standard: Static or on tripod/gimbal. Minimal crop.
- Active: Walking and light handheld. I use it most of the time.
- Dynamic / Dynamic Active: When Active wasn’t enough—I had a B-roll run where stabilisation and focus failed; switching to Dynamic and full-wide focus fixed it. Dynamic Active adds a 1.3x crop (and isn’t available at 120p), but you get smoother motion. For the full story, see how I shoot B-roll with the ZV-E1.
Autofocus
- Face/Eye AF: On for talking head and vlogs.
- Product Showcase: On when I’m holding something to the lens; off when I’m back to talking.
- Touch Tracking: Tap to track for B-roll.
- I still get defocused clips sometimes; I’m learning. When in doubt I go wider focus area (e.g. full-wide) so the camera has less to hunt on.
Overheating: what I do in heat
Over 30°C, the camera can overheat. I tried a timelapse once; it switched off after about 30 minutes. What I did: Took the LCD out, opened the charging and card-slot covers for ventilation, and turned off auto power-off where possible. For long or LOG shoots in heat, that’s the reality—either cool it down, shoot shorter bursts, or use S-Cinetone instead of LOG to reduce heat. Full story in our ZV-E1 review.
Indoor setup (desk / streaming)
- Profile: S-Cinetone.
- Lights: Two lights; lowest ISO I can, faster shutter to avoid lag.
- Recording to Mac: 4K over USB-C, camera as source (ZV-E1). Camera stays plugged in so battery isn’t an issue.
- Stabilisation: Standard if on a tripod; Active if handheld at the desk.
Audio
- Internal mic: levels so peaks sit around -12 to -6 dB, avoid the red.
- External (3.5mm or hot shoe): set level the same way; headphones to monitor. See ZV-E1 accessories for what I use.
The mistake I fixed
My initial footage was too bright or too dark, and I was fighting shutter and manual settings. What changed: I stopped trying to “master” manual first. I set S-Cinetone, got exposure and stabilisation right, and only then started tweaking manual when I had a reason. The camera is built for fast, good-looking output; use that first.
Verdict
Set S-Cinetone, 1/50s or 1/60s shutter, Active (or Dynamic when handheld is shaky), and Face/Eye AF. Use ND outdoors. For indoor/desk, add two lights and USB to the Mac for 4K. Do NOT ignore S-Cinetone while chasing manual and LOG—you’ll waste time and get worse results at first. For a minimal first-day setup, see ZV-E1 for beginners.
Check current price on the Sony ZV-E1.